こんにちはー、ニアです。
今回は、Raspberry Pi 4にShairport-syncを入れて、AirPlayオーディオレシーバーを作り、iPhoneやMacからオーディオをワイヤレス再生してみました。
1. 用意するもの
- Raspberry Pi 4 Model B(メモリ4GB)
- microSDHCカード(Raspberry Pi OSをインストール済)
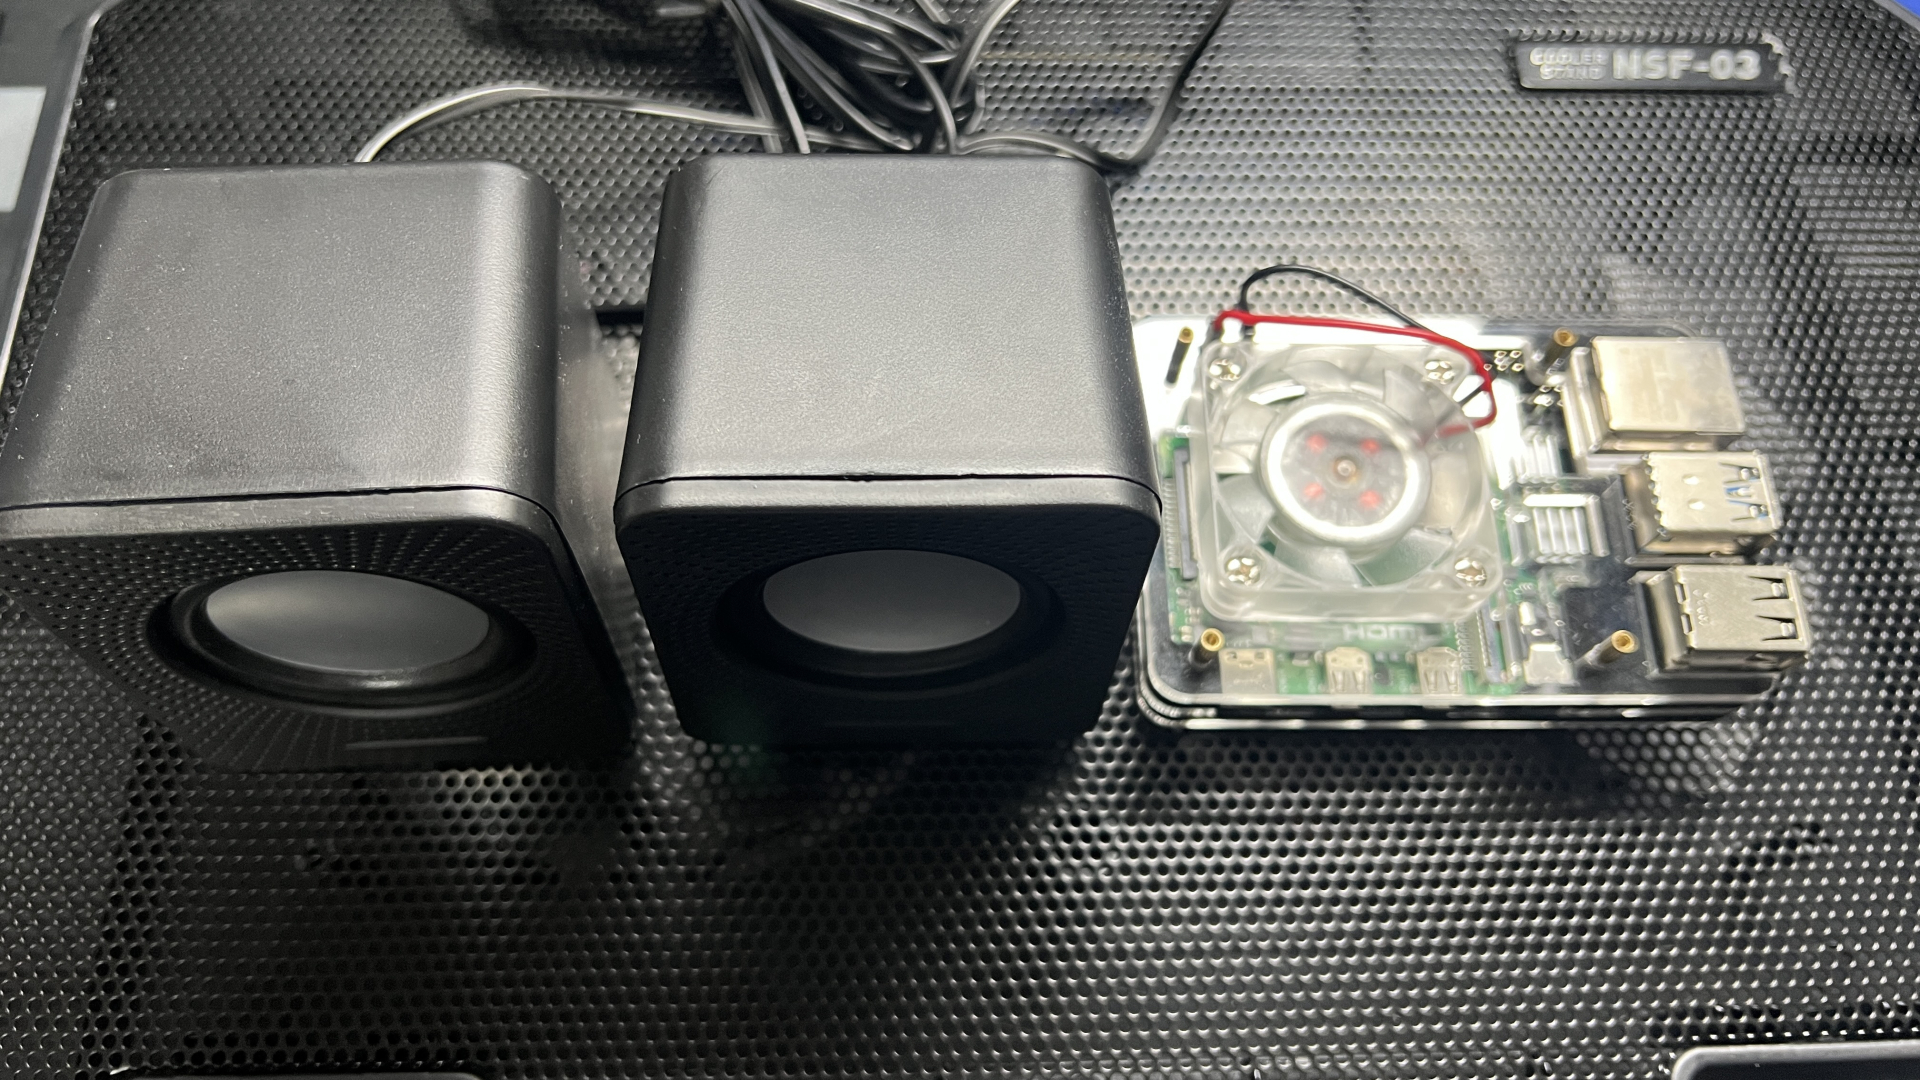
- 適当なスピーカー
2. Rasberry Pi 4にShairport-syncをインストール
今回は、MacからRaspberry PiにSSH接続してセットアップします。
ssh pi@192.168.X.X.  # Raspberry PiのIPアドレス
or
ssh raspberrypi.local.   # Raspberry Piのホスト名

# piユーザーのログインパスワードを入力します。
パッケージの一覧リストとインストール済パッケージを更新します。
sudo apt update
sudo apt upgrade
Shairport-syncやそのインストールに必要なパッケージをインストールします。
sudo apt install git autoconf libdaemon-dev libpopt-dev libconfig-dev libasound2-dev libpulse-dev libavahi-client-dev libssl-dev libsoxr-devShairport-syncをGitHubからcloneし、インストールします。
git clone https://github.com/mikebrady/shairport-sync.git
autoreconf -i
./configure --sysconfdir=/etc --with-alsa --with-pa --with-avahi --with-ssl=openssl --with-metadata --with-soxr --with-systemd
make
sudo make install
/etc/shairpoint-sync.confを編集します。
sudo nano /etc/shairport-sync.conf// General Settings
general =
{
// 表示するAirPlayの名前を設定します。(デフォルトはホスト名)
name = "AirRasPlay"; // This means "Hostname" -- see below. This is the name the service will advertise to iTunes.
// ...
// soxrを指定します。(音質が向上するとのこと)
interpolation = "soxr"; // aka "stuffing". Default is "auto". Alternatives are "basic" or "soxr". Choose "soxr" only if you have a reasonably fast processor and Shairport Sync has been built with "soxr" support.
// ...
};
alsa =
{
// 出力先のデバイスを指定します。(デフォルトでは、aplay -lで表示されたデバイスの内、カード0のデバイス0を使用します)
// output_device = "default"; // the name of the alsa output device. Use "shairport-sync -h" to discover the names of ALSA hardware devices. Use "alsamixer" or "aplay" to find out the names of devices, mixers, etc.
// ...
};オーディオ出力のデバイス一覧は、aplayコマンドで表示できます。このRasbery Pi 4では、カード0のデバイス0がヘッドフォン出力なので、/etc/shairport-sync.confのalsaのoutput_deviceはデフォルトのままでOKです。
aplay -l
**** ハードウェアデバイス PLAYBACK のリスト ****
カード 0: Headphones [bcm2835 Headphones], デバイス 0: bcm2835 Headphones [bcm2835 Headphones]
  サブデバイス: 8/8
  サブデバイス #0: subdevice #0
  サブデバイス #1: subdevice #1
  サブデバイス #2: subdevice #2
  サブデバイス #3: subdevice #3
  サブデバイス #4: subdevice #4
  サブデバイス #5: subdevice #5
  サブデバイス #6: subdevice #6
  サブデバイス #7: subdevice #7
カード 1: vc4hdmi0 [vc4-hdmi-0], デバイス 0: MAI PCM i2s-hifi-0 [MAI PCM i2s-hifi-0]
  サブデバイス: 1/1
  サブデバイス #0: subdevice #0
カード 2: vc4hdmi1 [vc4-hdmi-1], デバイス 0: MAI PCM i2s-hifi-0 [MAI PCM i2s-hifi-0]
  サブデバイス: 1/1
サブデバイス #0: subdevice #0設定を終えたら、Shairport-syncのサービスを起動します。
sudo service shairport-sync start
# Raspberry Pi起動時に自動起動したい場合、以下のコマンドを実行します。
sudo systemctl enable shairport-sync.service
# Shairport-syncのサービスを停止
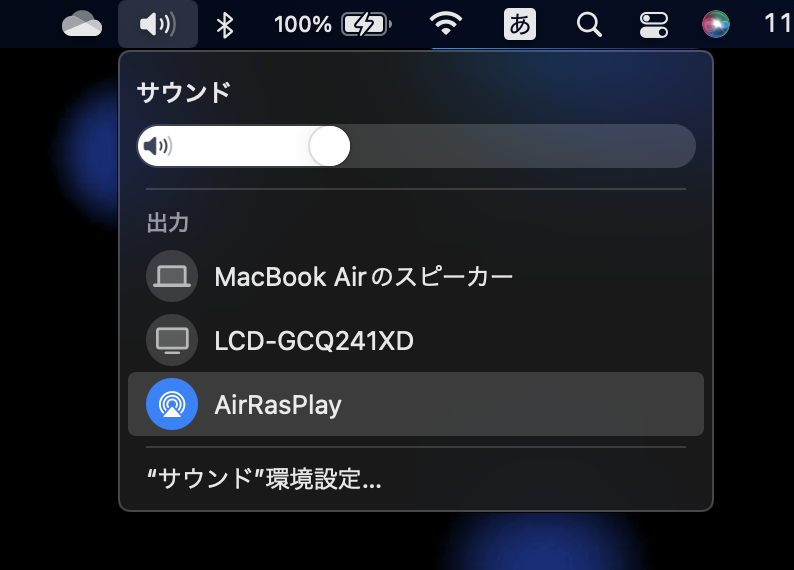
sudo service shairport-sync stopMacやiPhoneのオーディオデバイス選択に、AirPlayが表示されればOKです。ヘッドフォン端子にスピーカーを接続して、AirPlay経由でオーディオ再生できます。
3. 部屋に眠っているミニコンポをAirPlay対応にしたい!
ところで、私がRaspberry PIを使ってAirPlayレシーバーを作ろうと思ったのは、AV Watchのとある記事を見てAirPlayに興味を持ち、部屋に眠っているミニコンポに接続してAirPlay対応にしてみようと思ったからです。
ベルキン、スピーカーをAirPlay 2対応にするアダプター – AV Watch
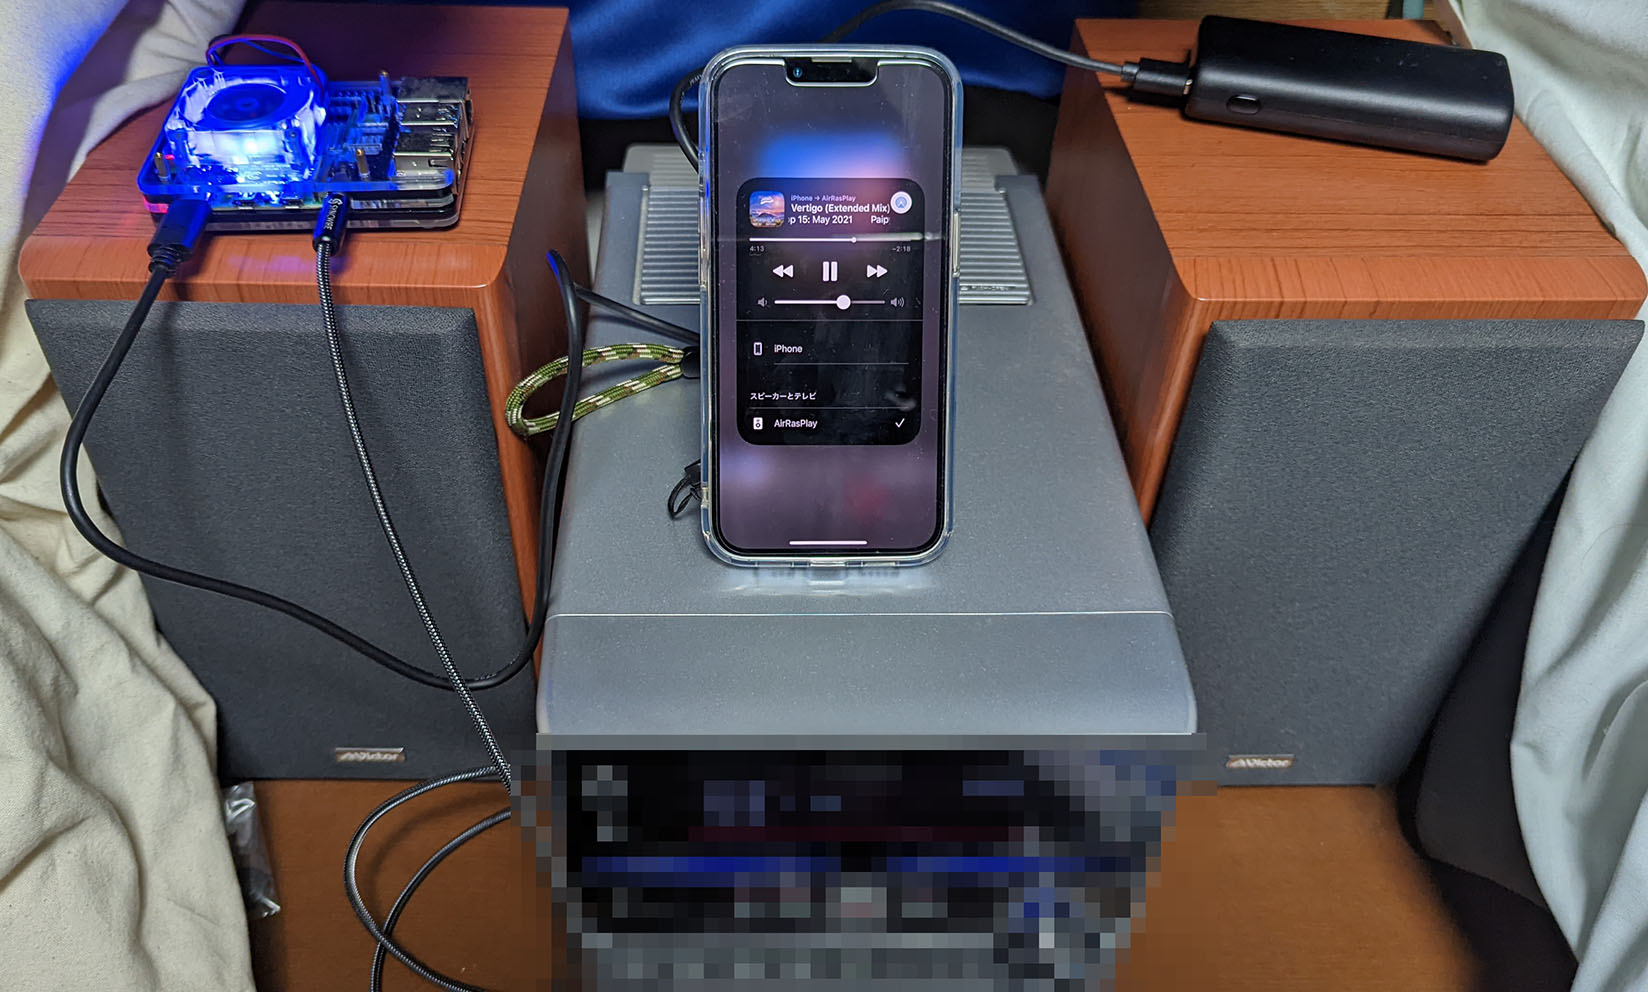
Raspberry Pi 4+Shairport-syncでミニコンポをAirPlay経由で再生できたので、後日AmazonでベルキンのAirPlay2アダプターを購入し、ミニコンポをAirPlayに本格的に対応させて現役復帰させました。


来年もよろしくお願いします。
[END]